Snow Plow Maintenance: Pre-Season Checklist, Hydraulics, and Wear Parts
A step-by-step snow plow maintenance routine — hydraulic service, cutting edge replacement, electrical care, and off-season storage — with Western-specific procedures and part numbers for the Wide-Out and UltraMount lines.
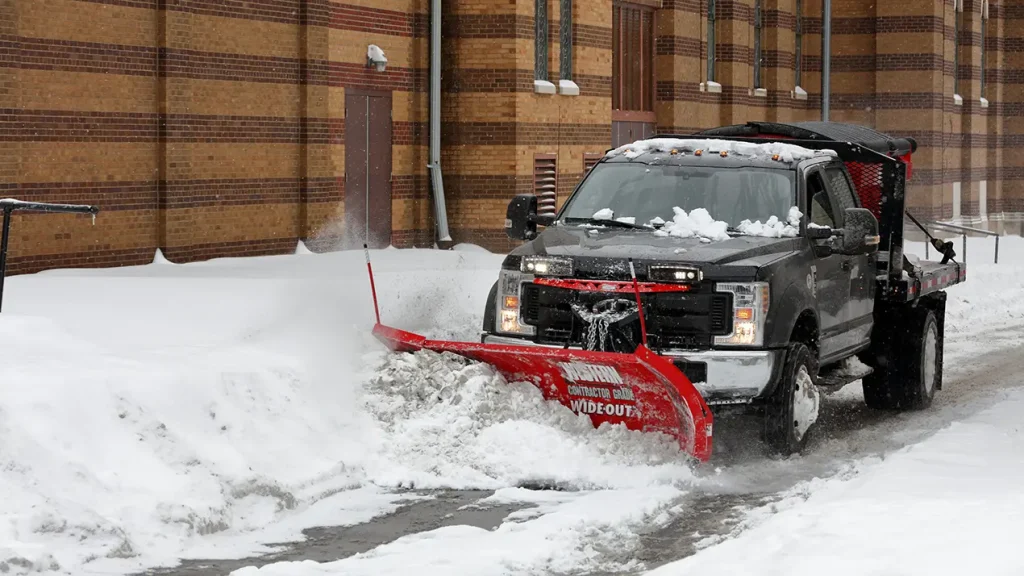
Snow plow maintenance covers hydraulics, cutting edges, electrical connections, and structural hardware — inspected once before the season and checked throughout the winter. A plow that gets this service runs; one that does not fails mid-storm. Below are universal procedures followed by Western Products-specific service points for the Wide-Out and UltraMount lines.
Pre-Season Inspection Checklist
Start the pre-season inspection at least six weeks before the first expected snowfall. That lead time matters — if a cutting edge, hydraulic hose, or controller harness needs replacing, dealer inventory is still available in September. By November, back-orders on common wear parts can stretch weeks.
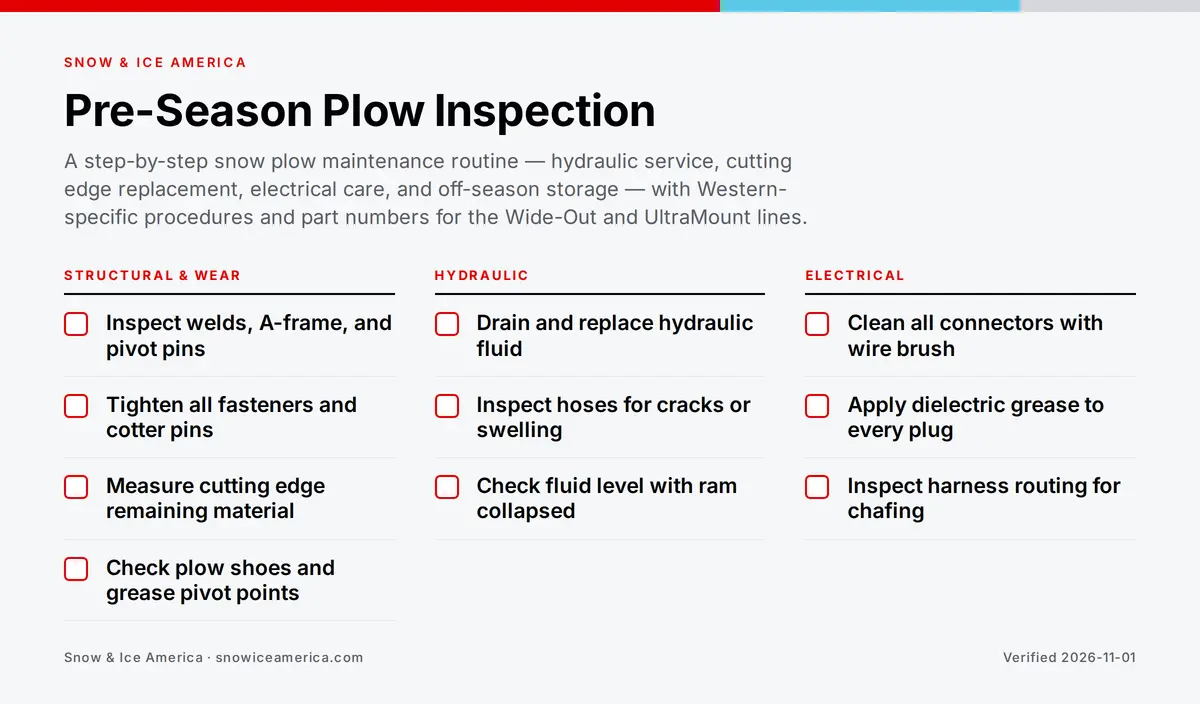
Walk the structural checks first:
- Inspect the moldboard, A-frame, and push frame for weld cracks and fatigue bends.
- Tighten every fastener on the mount and plow. Verify that all cotter pins are in place.
- Check pivot pins for lateral play — worn pins cause blade drift under load.
- Examine the lift chain for stretch or damaged links.
Then address the plow surface:
- Power-wash the moldboard to strip salt residue, dirt, and asphalt.
- Touch up exposed metal and paint chips to stop corrosion before it starts.
- Wax the face of the moldboard. Waxed steel sheds wet snow instead of building a heavy crust that strains the hydraulics.
Finish with the truck side. The plow’s hydraulic pump draws significant current, so test the battery under load and verify the alternator output. Check brake condition, suspension travel, and tire pressure — a plow adds 800–1,000 lb to the front axle. For a full truck-and-spreader walkthrough, see the pre-season fleet readiness checklist.
Hydraulic System Service
The hydraulic system controls every plow function — raise, lower, angle, and on wing plows like the Western Wide-Out, wing extension and retraction. Western Products and its sister brand Fisher Engineering (both owned by Douglas Dynamics) use the same FloStat power-unit design, so the fluid specs and bleeding procedure below apply across their UltraMount lines. Annual fluid replacement is the single highest-return maintenance task on the plow.
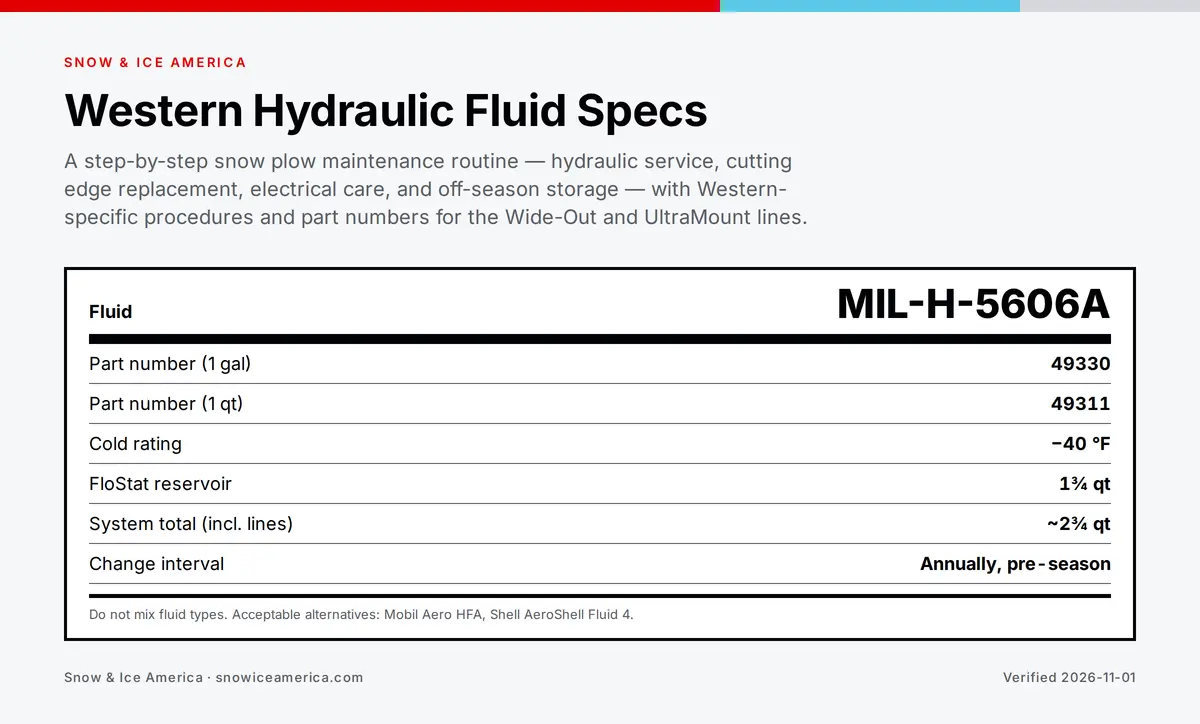
Check the fluid level with the plow lowered and the lift ram fully collapsed. On Western’s FloStat power unit, the reservoir holds 1¾ quarts; the full system including cylinders and lines takes approximately 2¾ quarts. If the level is low, look for the leak before topping off — low fluid is a symptom, not the diagnosis.
Inspect every hose. Run a gloved hand along each one feeling for bulges, cracks, and abrasion spots. Pay attention to where hoses pass over or around moving parts. A hose that looks fine in September can blow at −10 °F if the outer braid is compromised.
Replace the fluid annually, at pre-season service, regardless of appearance. Hydraulic fluid absorbs moisture over the summer, and water in the system causes sluggish operation when temperatures drop below freezing. Drain the reservoir, cycle the angle and lift functions to push old fluid out of the cylinders, refill, then cycle again to purge air. Western specifies its High Performance Hydraulic Fluid (Part #49330, one gallon; Part #49311, one quart), which conforms to military specification MIL-H-5606A and is rated to −40 °F. Acceptable alternatives include Mobil Aero HFA and Shell AeroShell Fluid 4. Never mix different fluid types.
Bleeding the Hydraulic System
Air trapped in the hydraulic circuit makes the blade jerk or move unevenly. After any fluid change, hose replacement, or cylinder service, bleed the system before plowing.
Standard procedure (any Western UltraMount):
- Attach the plow to the truck on a hard, level surface. Lower the blade to the ground.
- Activate the controller’s float function and manually push the lift ram all the way down.
- Loosen the fill plug slowly to relieve any residual pressure. Remove the drain plug and drain the reservoir into a clean container.
- Disconnect the angle ram hoses at the hydraulic unit. Manually angle the blade fully in each direction to force old fluid out of the angle cylinders. Reconnect the hoses.
- Refill the reservoir through the fill hole until fluid reaches the level port.
- Cycle the angle function fully left and right several times. Air in the angle circuits returns to the reservoir through the return line.
- Raise and lower the blade several times to purge air from the lift cylinder.
- Recheck the fluid level with the lift ram fully collapsed. Top off as needed.
Wide-Out wing cylinders (additional steps):
The wing hydraulic lines are significantly longer than the standard angle lines, so bleeding takes more cycles. Crack the hose fittings nearest the pivot bolt first and cycle each wing function until the flow is steady and bubble-free. Then move to the outboard fittings. If the wings still feel spongy, raise the plow on a floor jack and manually push each wing in and out while the fittings are cracked — gravity and leverage help move stubborn air pockets. Retighten all fittings and recheck the reservoir level.
Cutting Edge and Wear Parts
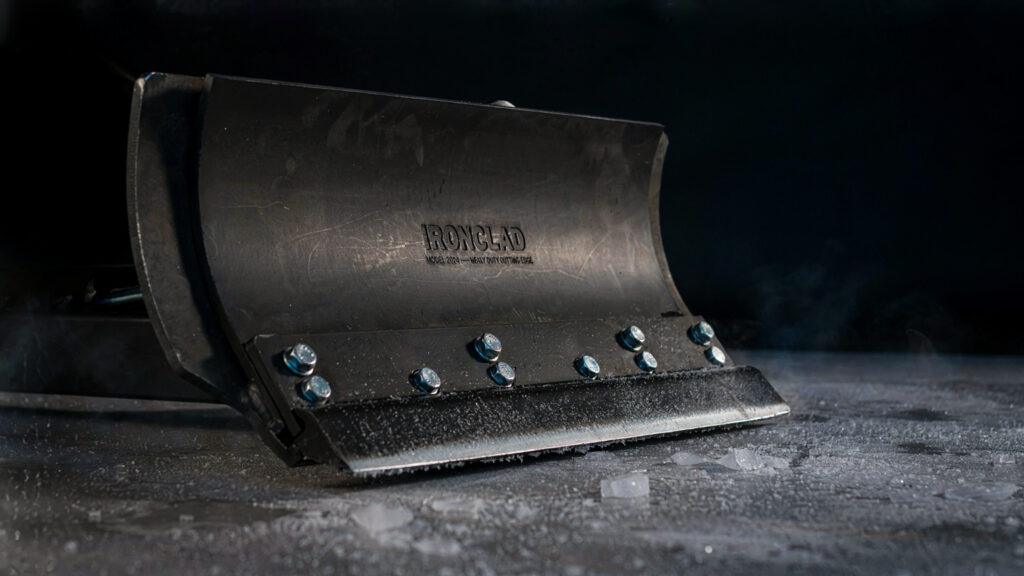
The cutting edge takes the hardest abuse on any plow. Under heavy commercial use on asphalt, a steel edge lasts roughly one season. Inspect the edge before and during the season:
- Replace when wear reaches the mounting bolt holes, when the holes are elongated, or when the edge has rounded off instead of holding a square profile.
- Watch for streaking. If the plow leaves packed ridges of snow after each pass despite correct down-pressure, the edge is done.
When installing a new edge, use Grade 8 plow bolts (5/8″ is the common size on Western plows). Grade 8 hardware carries a minimum tensile strength of 150,000 PSI — standard hardware shears under impact. Seat the edge flush against the moldboard and torque the bolts to specification. Re-torque after the first 10 hours of use; bolt stretch during break-in is normal.
Plow shoes control the cutting edge’s contact angle with the ground. Check them for uneven wear. Shoes worn thin on one side produce asymmetric edge wear and inconsistent scraping.
Pivot pins and bushings wear from the repeated lateral force of angling. Check for play by grabbing the blade and pushing sideways. Any noticeable slop means the pin or bushing is due for replacement. On a Western Wide-Out, inspect the wing pivot pins (Part #50660) at each pre-season service — the wings cycle hundreds of times per storm and the pins see more load than a straight-blade pivot.
Electrical System Care
Electrical failures account for a large share of mid-storm breakdowns. Corroded connectors cause intermittent control response, flickering lights, and phantom faults that are difficult to diagnose in the dark at 3 a.m.
Clean every connector. Disconnect the vehicle-to-plow harness and clean pin faces and sockets with a small wire brush or quality electrical contact cleaner. On a Western system, you are dealing with a multi-pin control harness (commonly 3-pin or 7-pin) and a 9-pin or 11-pin lighting connector. Corrosion on any single pin can disable the entire lighting or control circuit.
Apply dielectric grease to every plug face after cleaning. Western sells a purpose-made tube (Part #49326, 2 oz). Dielectric grease creates a moisture barrier that blocks galvanic corrosion between dissimilar metals and repels road-salt spray. Apply it at installation and reapply after every disconnect during the season.
Trace the harness routing. Look for chafing where wires pass through the grille area, near the battery, and through the firewall. Rodent damage from summer storage is common. A single abraded wire can cause a short that takes out the controller or blows a fuse at the worst possible moment.
When the plow is detached for the season, cap every unplugged connector with a dust cap and store the handheld controller in a dry location.
Western Wide-Out Wing Maintenance
The Wide-Out’s expandable wings add four moving assemblies — two wing pivot hinges and two wing cylinders — that straight-blade plows do not have. These parts need their own attention.
Grease points. The Wide-Out has zerks on the pivot bar assembly (one at each end), the blade pivot bolt, and each wing hinge. The blade pivot bolt cavity is large; it may take up to half a quart of grease before any extrudes from the far side. Do not stop pumping until grease appears. Western’s Extreme Defense Low-Temp Grease (Part #72909, 14 oz cartridge) is formulated for −40 °F to 300 °F and includes military-grade corrosion-prevention additives. It is also available in bulk as Part #72910 (7 lb pail).
Wing cylinder hoses. These hoses route over the pivot bolt in a large loop to accommodate wing travel. Verify that each hose has enough slack to extend fully without pulling taut, and that no hose rubs against the moldboard or wing structure during cycling. Chafed wing hoses are the most common Wide-Out-specific failure.
Wing return springs. Inspect the springs for fatigue cracks or loss of tension. Weak springs allow the wings to bounce open under impact, stressing the cylinder rods and pivot pins.
For storage, fully retract the wings to the straight-blade position. This protects the wing cylinder rods, electrical connections, and hydraulic fittings from exposure.
Off-Season Storage
Proper storage between April and October prevents the rust, seized fittings, and dead circuits that turn a September pre-season check into a rebuild.
- Wash thoroughly. Power-wash every surface — moldboard, A-frame, mount hardware, underside of the wings. Road salt left on steel over a warm, humid summer causes deep corrosion.
- Wax the moldboard and apply touch-up paint to any exposed metal. A $15 can of rust-preventive paint saves hundreds in panel work later.
- Top off the hydraulic reservoir. A partially filled reservoir develops condensation inside over the summer. The cost of less than a quart of fluid prevents moisture damage to valves and fittings.
- Grease every pivot point — A-frame, lift chain, pivot pins, wing hinges (Wide-Out). Clean each zerk before pumping to keep grit out of the bearing surfaces.
- Retract all cylinders. Chrome piston rods corrode when left extended and exposed. On a Wide-Out, retract the wings fully.
- Cap all electrical connectors and apply dielectric grease. Store the controller indoors.
- Store on a hard surface. Concrete or asphalt is ideal. Grass and bare dirt hold moisture against the steel. If outdoor storage is unavoidable, elevate the plow off the ground on blocks and ensure airflow underneath — never drape a tarp directly against the steel, as trapped moisture accelerates corrosion faster than open-air exposure.
A plow stored correctly comes out of summer ready for a fluid change and a bolt check. One stored poorly comes out needing a parts order and a week of shop time — in the same September window when dealer inventories are tightest.
Kirk Davies
EditorialWith a career spanning over two decades in the snow and ice industry, and former owner of RWB Snow Service Group, Kirk propelled the company to the forefront of the industry while setting new standards for operational excellence and customer service. Kirk's contributions extend beyond his business achievements. He is a respected thought leader who shares his knowledge and insights throughout the snow and ice industry.
Price your next snow job in 60 seconds.
Estimate per-push, per-inch and seasonal pricing for any lot.